

It is absolutely amazing how fast the smartphone industry develops with each year. Nowadays almost every smartphone has a camera and sometimes more than one. The manufacturers have long been involved in the megapixel race, bringing its number to the level of modern digital cameras.
It seems that in our present world every person is more or less of a photographer. The cameras of modern smartphones have an ability to make high-quality photos, which we are taking more than ever. Every day more than 5 million photos are being uploaded to Instagram and shared will all of the world. Unfortunately the presence of a good camera on your smartphone still does not guarantee a beautiful photo. But there are several rules that may take your mobile photo to the next level. And we are ready to share it with you immediately.
1. Wipe off dirty lenses
This advice might seem too obvious, but this is the first thing you should do before shooting. You won’t believe how many beautiful photos were ruined by a fingerprint on the camera’s lens or a crumb stuck to it. So just make a habit to take a soft cloth or a napkin and clean the lenses.

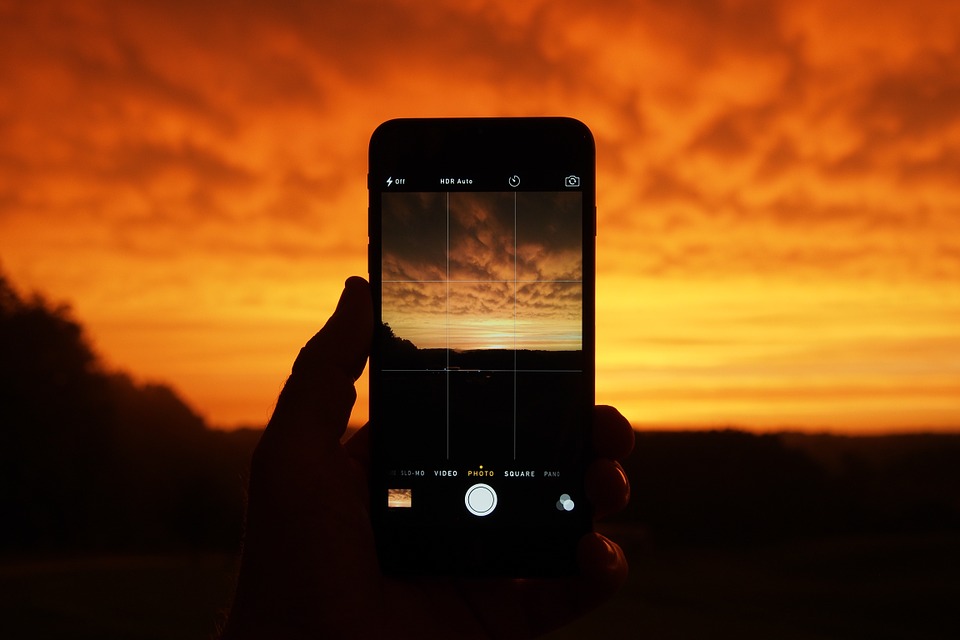
2. Think about lighting
One of the biggest problems with a built-in smartphone camera is its low technical abilities to shoot in low light conditions. In order to make pictures brighter and more alive, you’ll have to make some effort.
Any professional photographer will tell you that there’s nothing better than natural lighting, but on cloudy days you’ll unlikely be able to make quality pictures without additional light sources. When shooting, remember to turn your back to the light source, while objects should be directed to the light. If you’re shooting indoors also point the light on the objects and take them away from walls and windows.

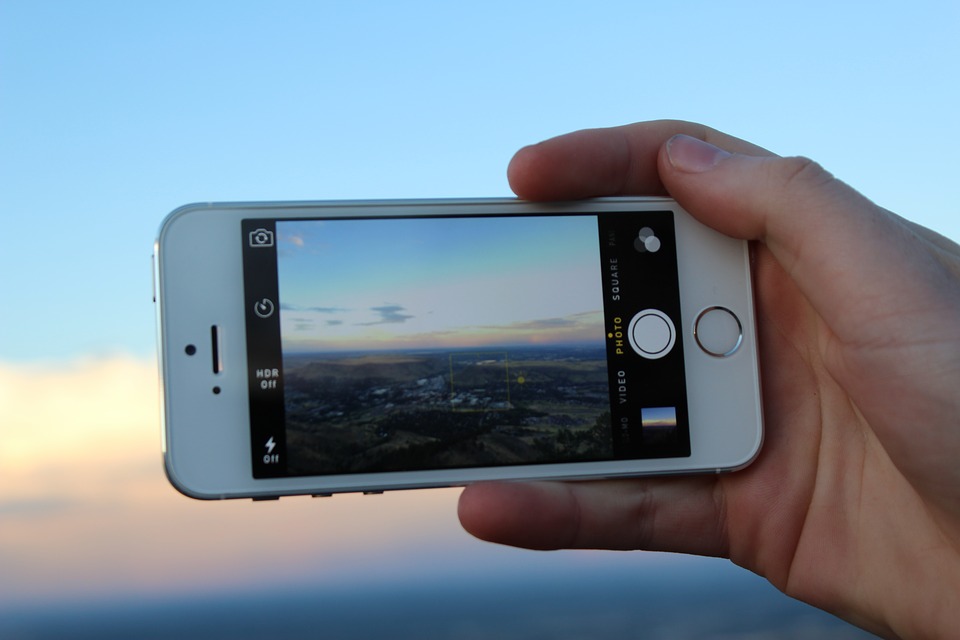
3. Adjust focus and exposure
Usually, smartphone adjusts focus automatically when you press the shutter release button. But we suggest making sure that the focus is set correctly and in the right place by simply clicking on the desired object on the screen. This step is important, not only because the focus will be fixed on needed object, but also because the smartphone will adjust exposure depending on the selected location.
To test this feature, try shooting objects with different lighting. If the foreground is dark, the phone will try to set the exposure on the darkest part of the scene, highlighting the picture as a whole. And if the bright area of the scene is in focus, the shadows will appear even darker. This simple trick will make the most important areas of the picture look as expressive as possible.
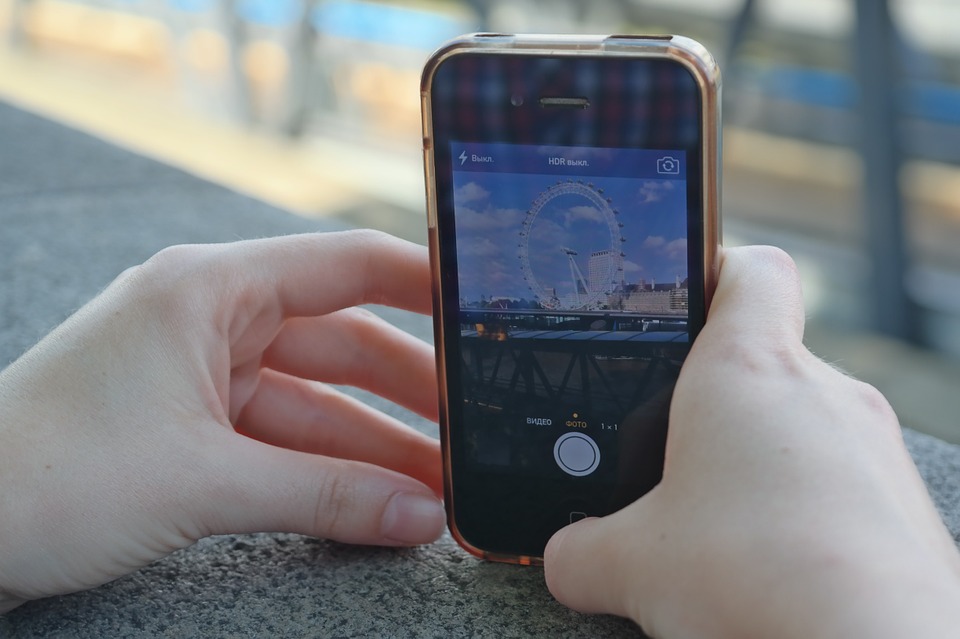
4. Use the HDR mode
Incorrect usage of flash leaves the picture way too bright. In order to get a good photo in low light conditions without using a flash, you need to increase the ISO (matrix sensitivity) on your smartphone camera or use High Dynamic Range (HDR) mode.
HDR mode combines several photos taken with different exposures and allows the camera capture much wider range of tones and colors. Unfortunately, many smartphones only mimic the real HDR effect without actually taking multiple photos. But still HDR mode is preferred in low light conditions, instead of using flash.
5. Use additional lens
Virtually every smartphone has a fixed focal length, which means that it is almost impossible to increase or decrease the scale of the picture like in digital cameras. If you want to expand technical abilities of your smartphone’s camera, purchase an additional lens, which can be attached to the back panel of the phone. Yes, it might look a little weird at first, but do not forget about many possibilities it provides for a better quality photo. In fact, additional lenses are one of the most popular gadgets, which continue increasing its popularity.

6.Mobile photo retouching
There are a lot of apps, designed to make the process of creating beautiful photos much easier. Some apps actually replace default software on your smartphone and allow you to adjust exposure settings, ISO sensitivity, white balance etc. If the main camera app on your phone does not have these features, install the Camera Zoom FX app. It does require additional payment but has a wide range of useful settings.
If you’re looking for an app to edit photos, try using Snapseed. This app is free and allows you to edit pictures with multiple tools. It doesn’t have anything extra and very simple to use. Another great choice is Adobe Photoshop Touch, where you can not only edit the whole photo but also focus on its individual elements.
7.Keep smartphone steady
In order to avoid blurry pictures, it is crucial to hold the phone steady still while shooting. There are actually several ways to ensure a stable position of the camera.
To make a crisp picture ensure a stable position of your body first. Hold a smartphone with both hands and keep hands along the body. If there’s any surface nearby, for example, a table or a shelf, use it as a support.Some smartphones have a built-in accelerometer, which determines the movement of the device and takes a picture only when the camera is still. If your gadget is equipped with an accelerometer, make sure to enable this feature for better pictures.
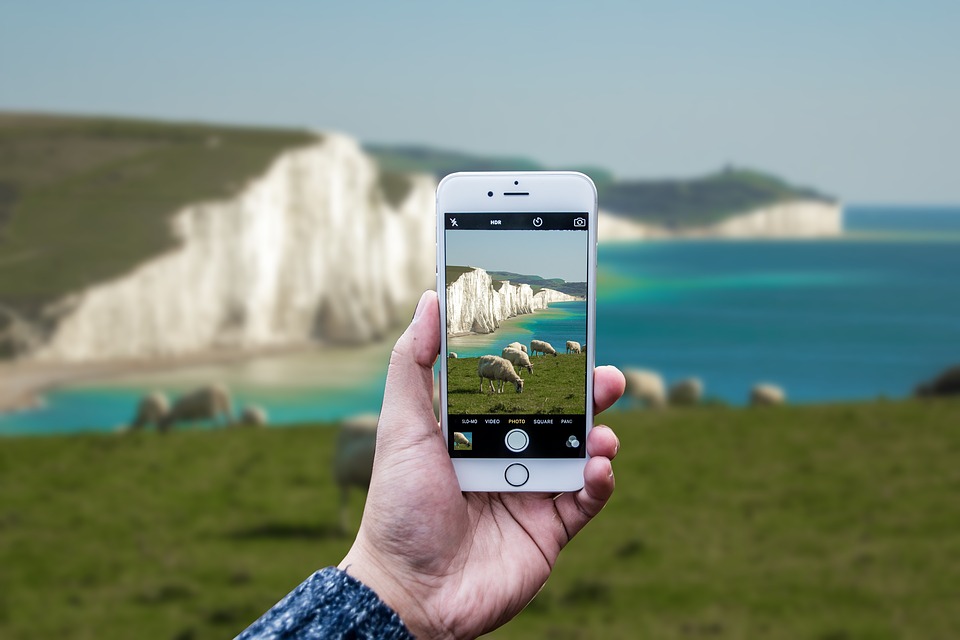
8.The “rule of thirds”
Of course, you can just shoot an object in the center of an empty frame, but you may go the other way. Instead, use the “rule of thirds” by imagining vertical and horizontal lines separating the screen.You can easily turn on the screen grid on your phone by using camera settings. In another case, such app as ProCapture allows doing the same. Use lines to correctly position the object and get the best composition.
9.Do not use zoom
Almost every smartphone camera has a zoom feature, which allows zooming in the desired object. Unfortunately, cameras are equipped with just a digital zoom and not optical. When you zoom the object, the image is being cropped at the edges, which results in quality deteriorating. To photograph the object that is far away, it is better to come closer, rather than use smartphone camera zoom. Or take a picture as it is and crop it while editing to emphasize needed object.
10. The more photos – the better
And the last, but maybe the most important advice is not to limit yourself in a number of photos because you never know exactly which picture will be successful or what unique moment you may catch. It happens that two photos taken from the same location but with a couple seconds of difference may vary dramatically from one another. Therefore, try to shoot as much as possible, experimenting with angles, layouts, lighting and objects. You’ll be always able to choose the favorite shot out of tons photos and delete the rest.


